
Greenhouse Construction
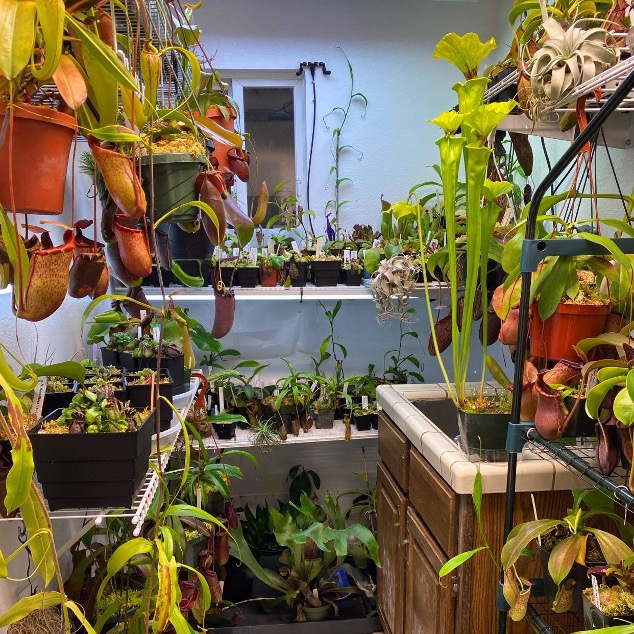
I used to grow everything in a converted room inside the house. We painted the walls with water proof paint and installed Mistking misters to keep everything moist. To keep the humidity up, I had a portable swamp cooler at the entrance of the room. This also helped regulate the temperature to intermediate conditions. This worked for a while but it was clear things were getting too large to happily grow out in the cramped conditions. It didn’t help that I kept getting new plants because plant addiction.
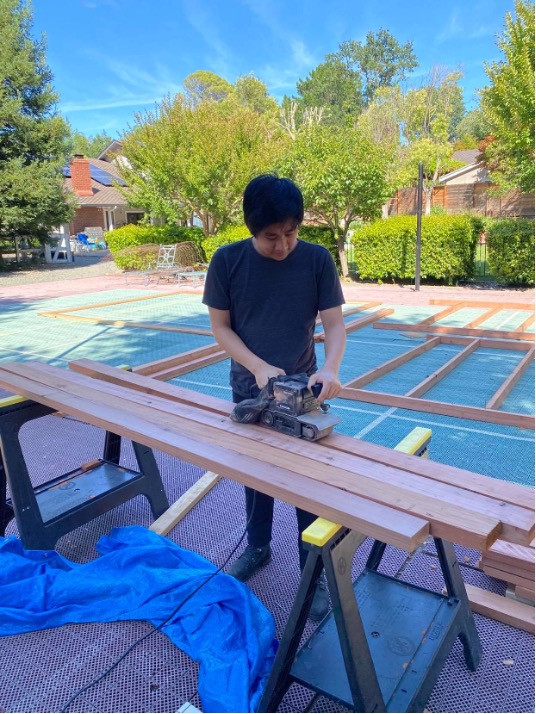
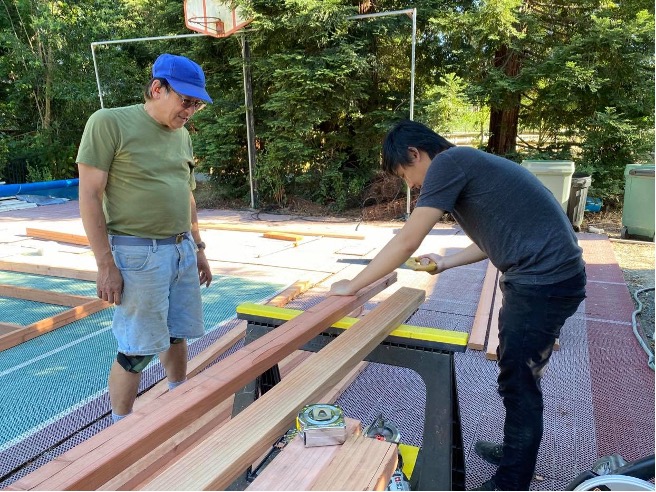
Over last summer, we decided to build a greenhouse to make more space for all the plants. I looked at a lot of different options, everything between new greenhouse kits to used ones on Craigslist. After doing some research, we decided to build our own from scratch. I found some basic greenhouse plans online and used that as a starting point. The greenhouse is 12 x 16 x 10 ft in dimensions and made of redwood. I decided to build taller to help fit the nepenthes once they start to vine. Each of the redwood pieces needed to be sanded down, cut, and stained before assembled.
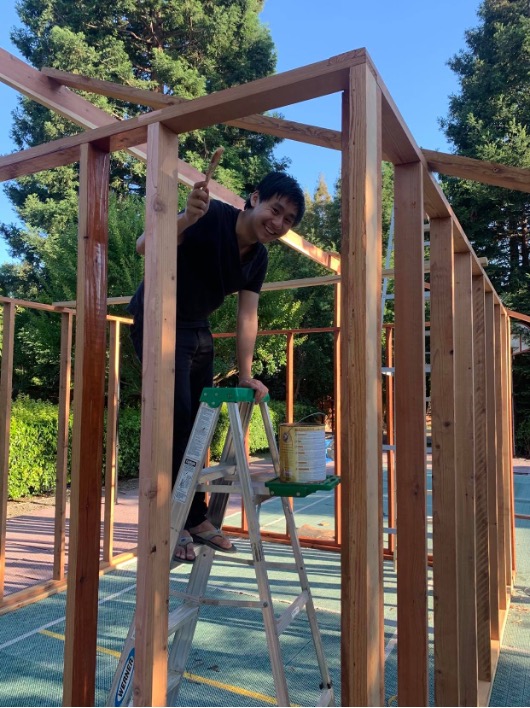
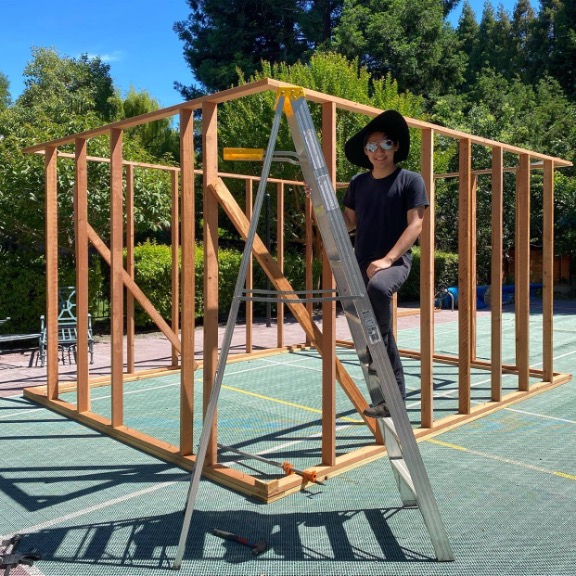
We started building the outer four walls. Every two feet, we put a vertical 2 x 4 for support. Once all the walls were completed, we pushed them into place to have a basic frame.
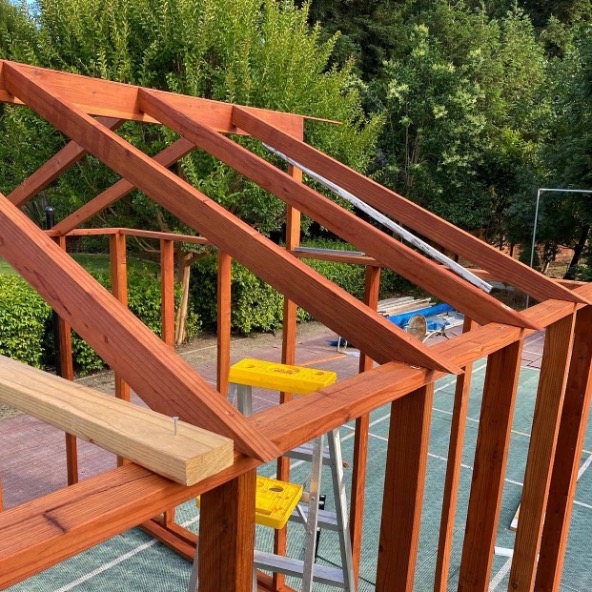
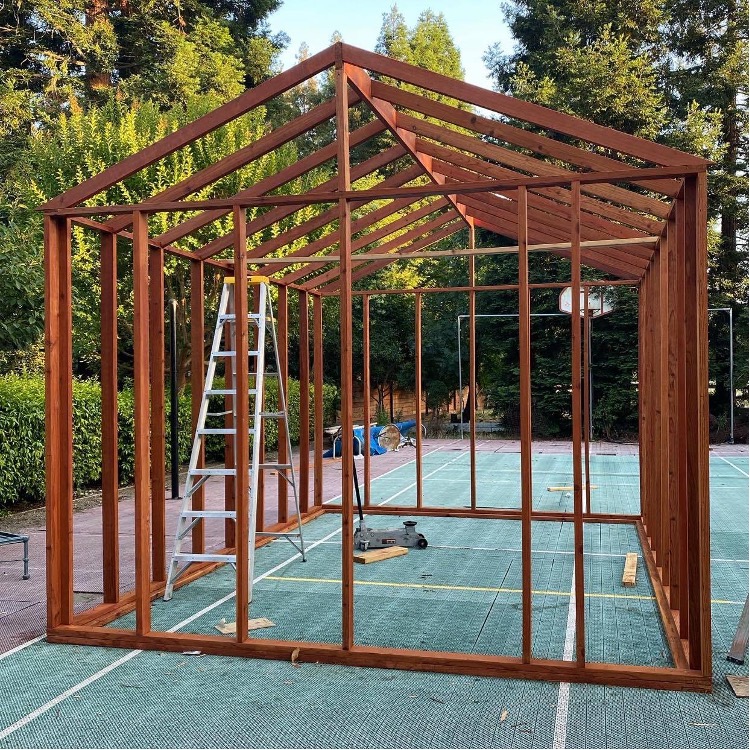
The roof was the tricky part. We decided to not follow the original blue prints and instead notch each of the rafters to the outside frame. We did this to create a small overhang for the polycarbonate.
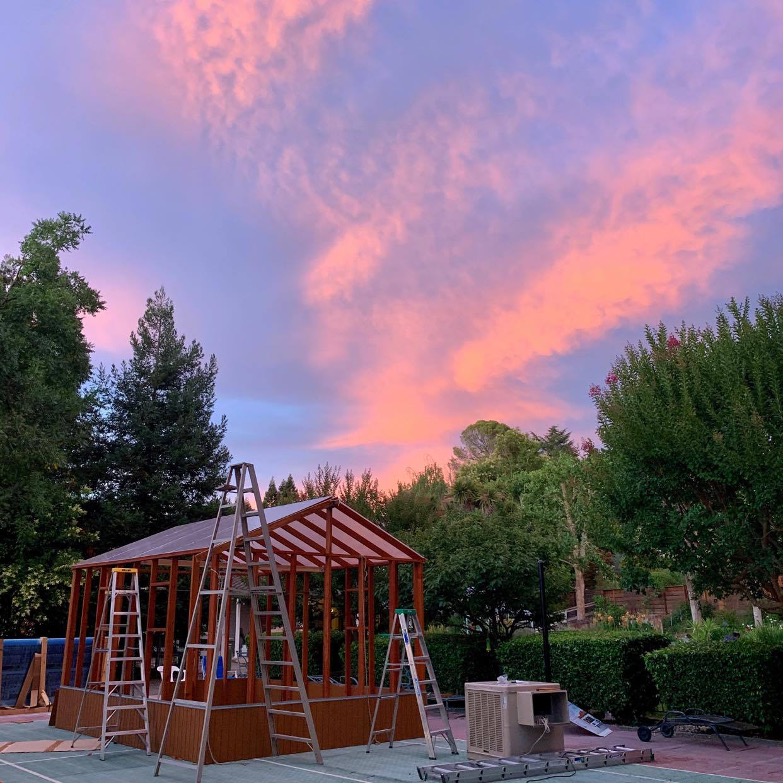
After a lot of trips to Home Depot for supplies and climbing up and down ladders, the basic frame of the greenhouse started to look more complete.
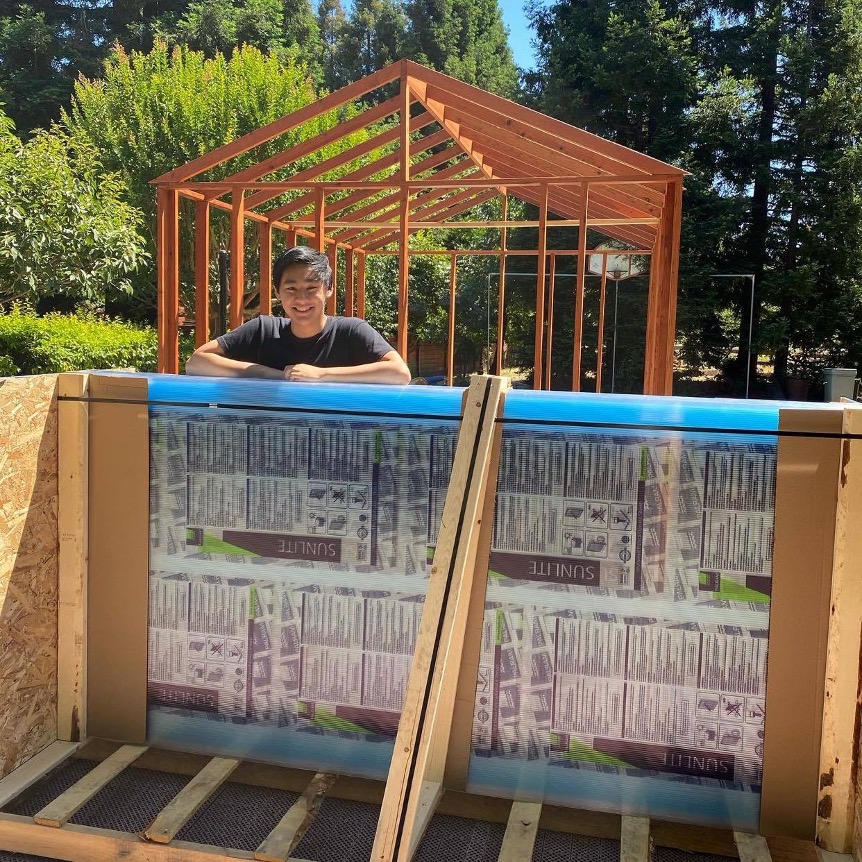
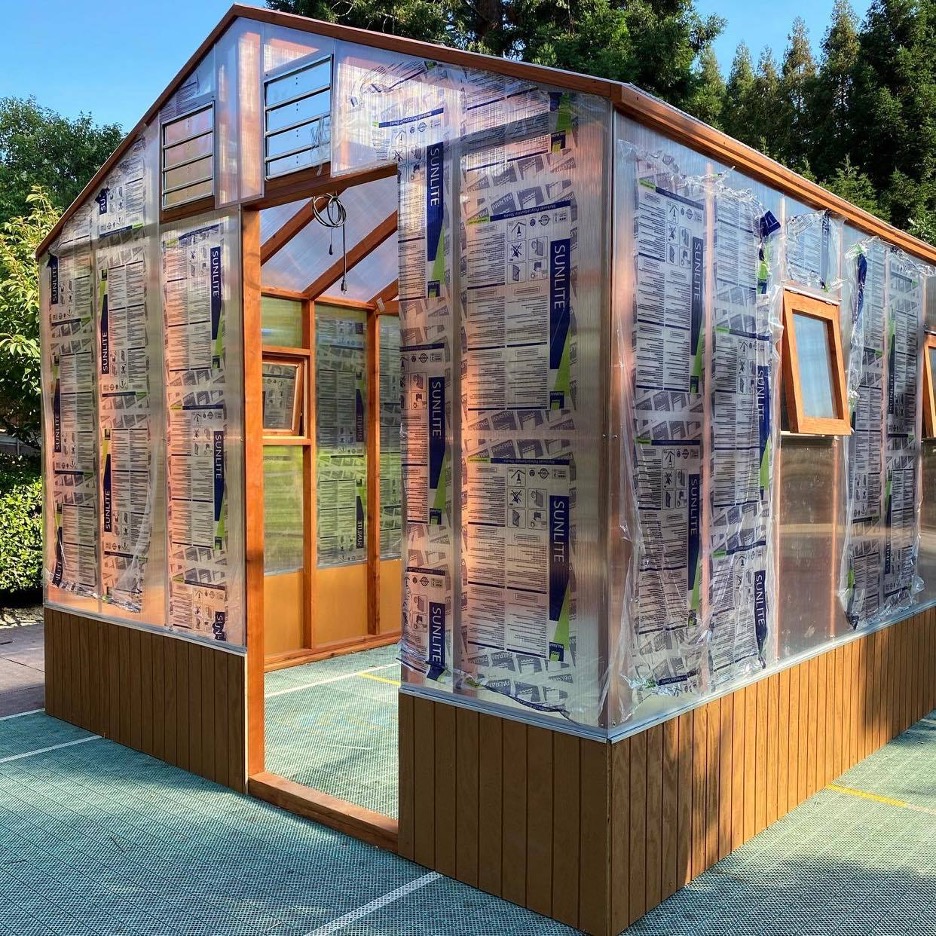
For the outside, I decided to go with 6mm polycarbonate. Polycarbonate is essentially two layers of plastic that act like a double paned window. 6 mm refers to the air space between the layers. I choose 6 mm because it would help insulate the greenhouse better and was significantly cheaper than 8 mm. Shipping these sheets is extremely expensive so I recommend really making sure you order enough and a bit extra. These sheets were 4 x 8 ft and had to be cut and sanded into shape.
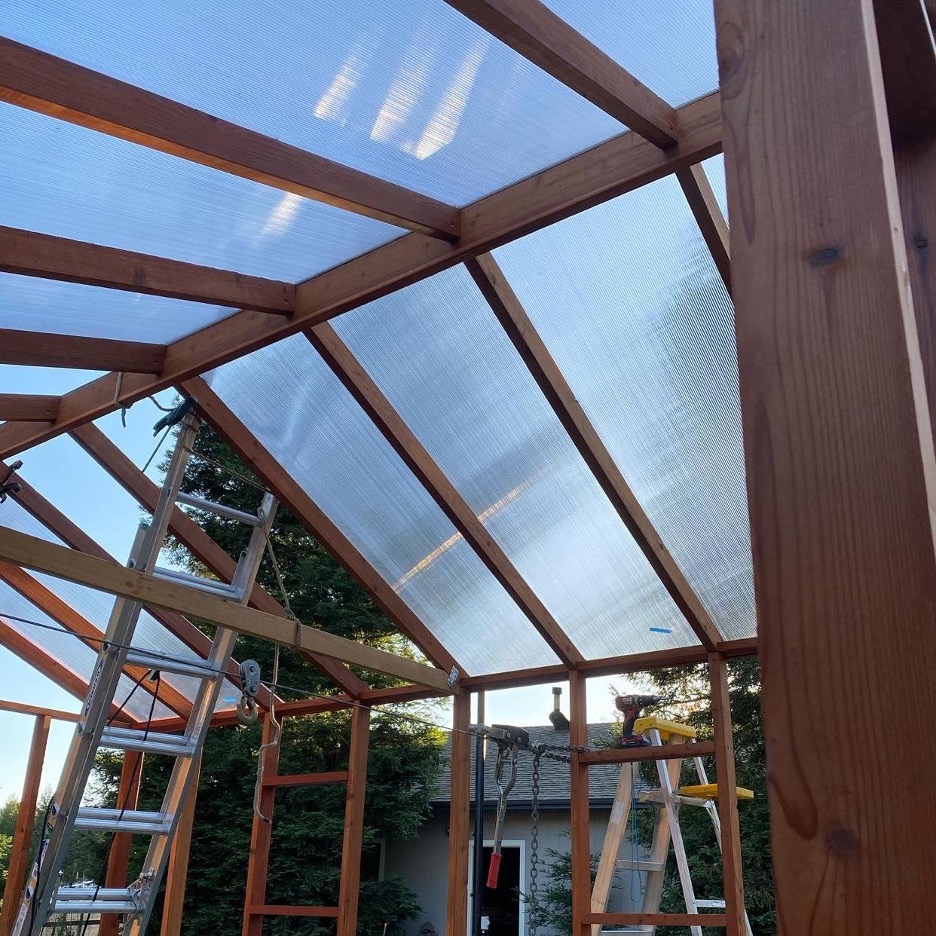
We started with putting on the roof panels first. This was a challenge to orient the ladders and reach everywhere that needed screws.
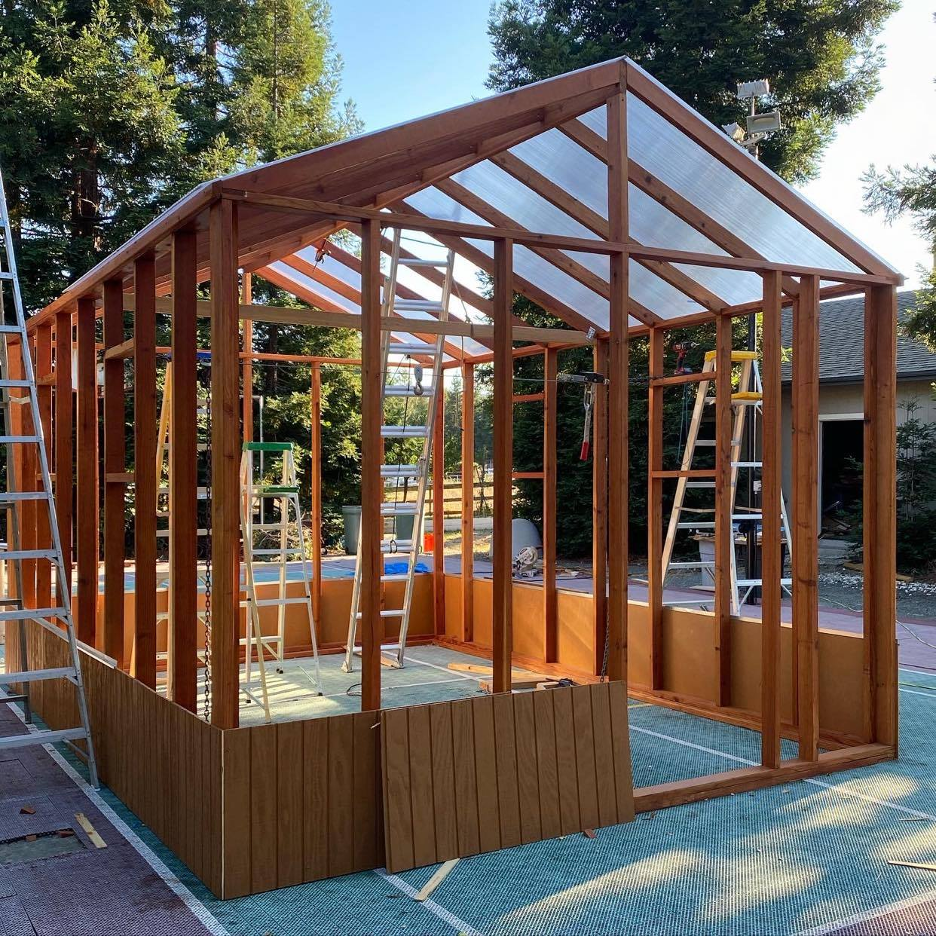
We also decided to put a two foot siding along the bottom. This helps keep the structural integrity of the greenhouse as well as provide some protection from our large tortoises that walk around the yard.

I found a big swamp cooler unit on Craigslist to use for cooling and humidity. Swamp coolers hook up to a hose and drip water down porous media. They have a large fan to move dry air from the outside through the media. As the water on the media evaporates, the air is cooled as it enters the greenhouse. We cut out a hole of the back of the greenhouse to attach the swamp cooler to the unit.

Each of the polycarbonate panels had to be cut and sealed before putting into place. Its also very important to install them the right direction so we made sure to keep tract which side should face out. We also built four windows into the side of the greenhouse.
I looked up a lot of ways to cool the greenhouse and decided on two exhaust fans. These were installed opposite of the swamp cooler to help pull the how air out. Each of these are connected to thermostats so that they only start up when it gets to a certain temperature. This gives some precautions and automation to the greenhouse to avoid it over heating during the summer.
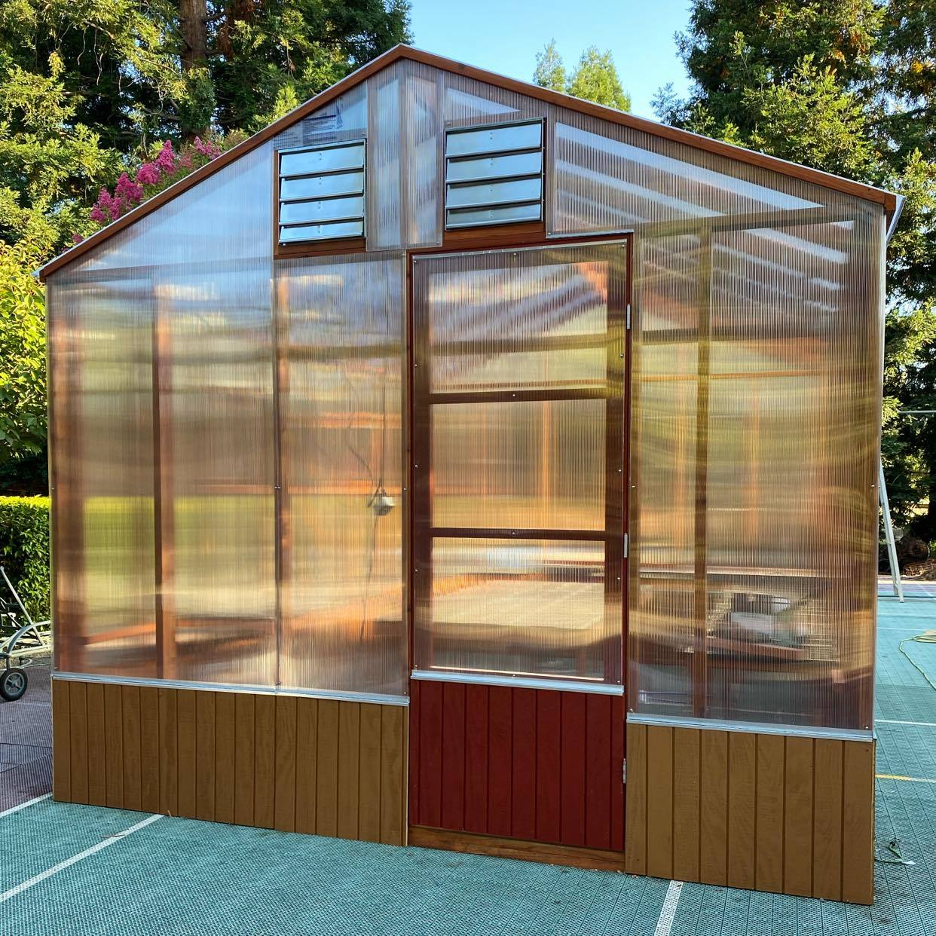
After 2 months, the greenhouse was done!
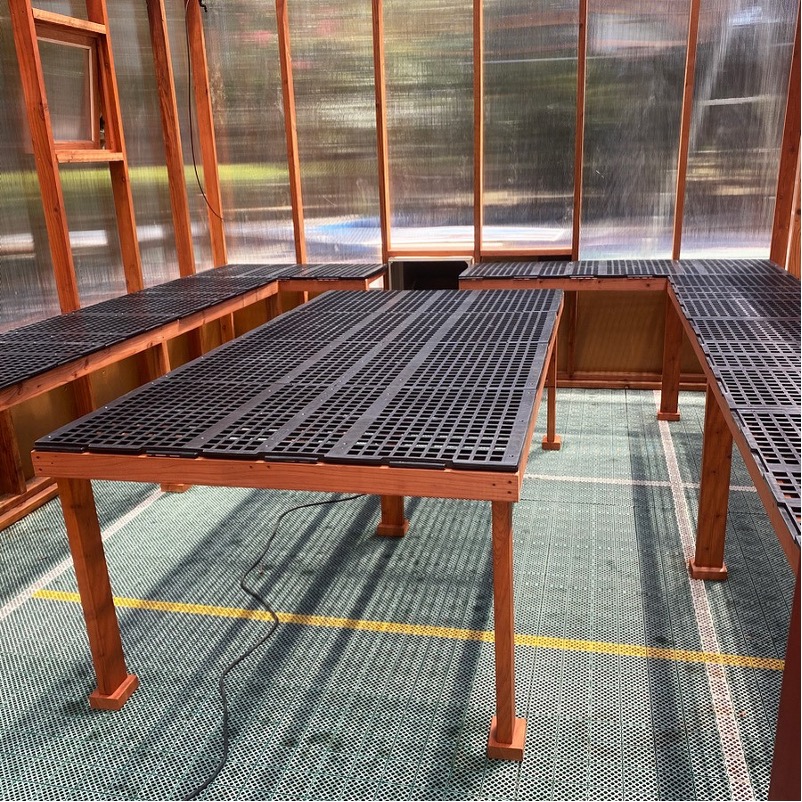
I found these table tops from Greenhouse Megastore. We build the table frames and they fit right in. Definitely recommend them – they are pretty light but very durable.
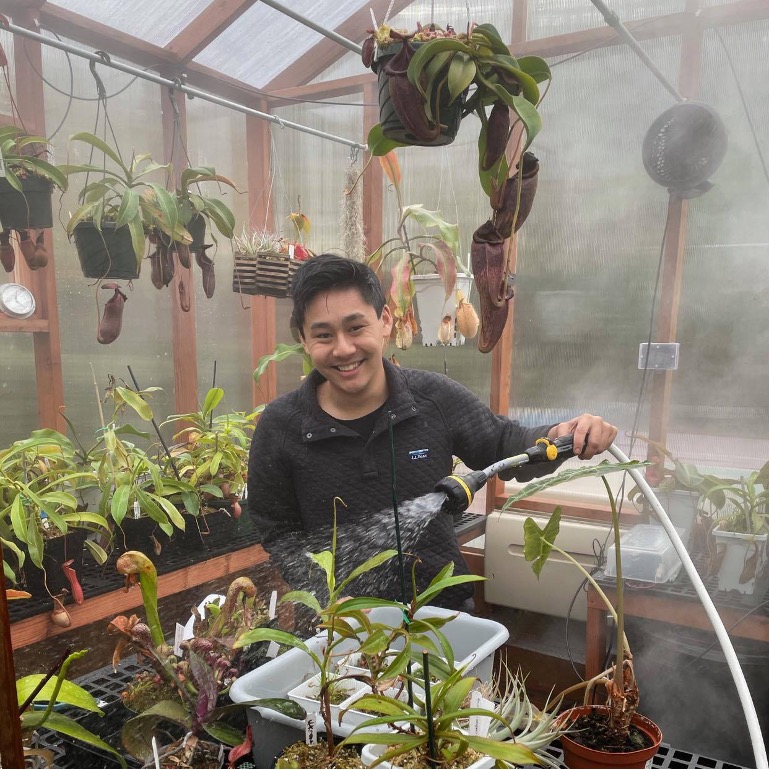
For inside environmental controls, I installed a Mistking unit and a hydrofogger. The misters really helped keep the temperatures lower in the summer. The hydrofogger is set up to a humidistat and goes on when the humidity drops to a certain level. We also installed an RO system to water the plants. While Bay Area water is pretty good, I didn’t want to take any risks over time. We have the RO unit connected to large water barrels under the shelves that feed into a hose. The big benefit of a greenhouse is that it takes significantly less work to water everything. After meticulously hand watering everything in the room, it was a great break to not have to worry about getting water everywhere.
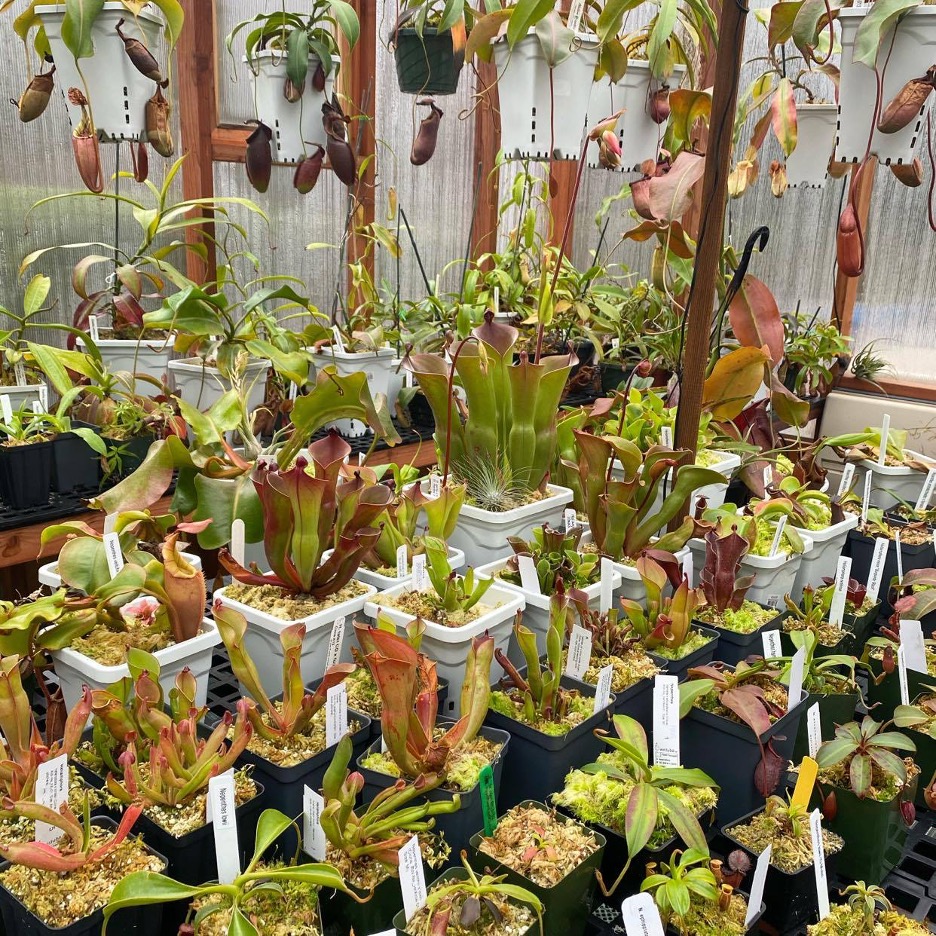
The whole process was definitely a big learning curve but the plants are acclimating in and doing well! There was definitely an acclimation period as things adjusted to the new conditions. I started moving some of the hardier stuff in there at the end of summer. After seeing the conditions were stable, more of the plants from the room were moved into the greenhouse over fall. Over the winter, we definitely struggled with keeping the greenhouse warm during the night. It was getting down to 46F some nights so we put in two space heaters on thermostats. Some of the nepenthes are still adjusting to the colder temps and greenhouse conditions but the heliamphora love it! Definitely excited for upcoming spring since it gets a little warmer and there’ll be more daylight hours for the plants. Having a greenhouse definitely has been nice for the much needed space, and I’m looking forward to seeing how current and future plants fill it in!